

Pony Beads Sun Catcher
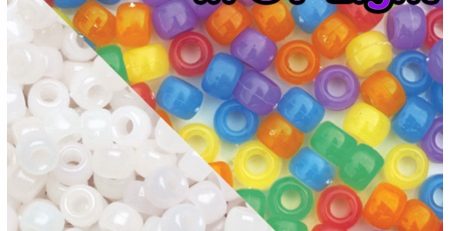
Everyone loves a good craft idea, and today seemed like a good day to craft up a good one so I pulled out my vast supply of different colored pony beads and got to work! I grabbed my older pizza pan and started pouring different colored pony beads into the pan. I made sure that I added lots of clear ones to give a nice see through look once it is completed. I made sure that I poured enough pony beads onto the pizza pan to cover the entire pan and the beads were close and touching each other. Once I had enough beads in the pan, it was time to melt them!

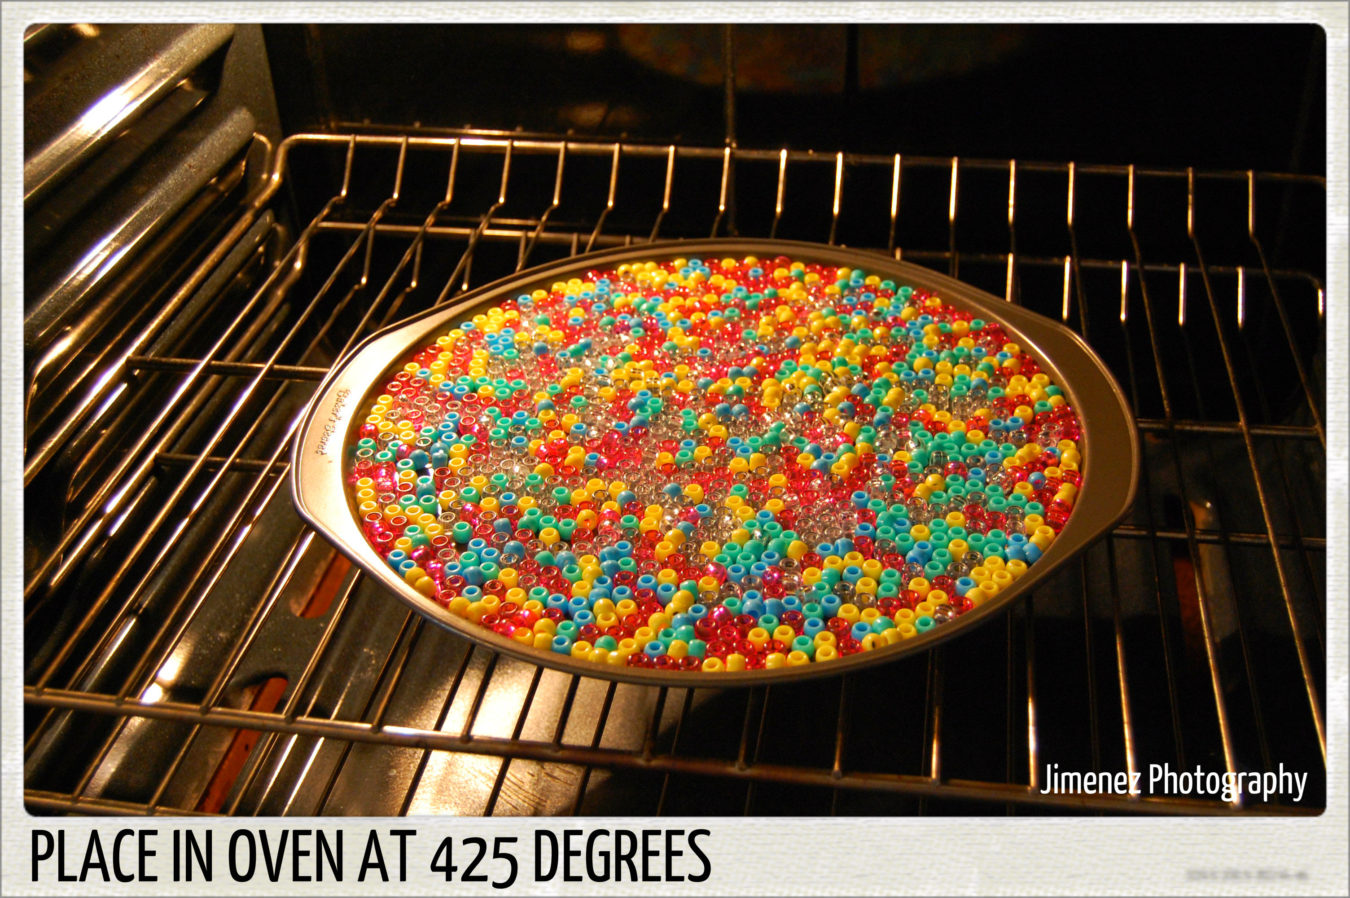
Set your oven to 425 degrees and get it nice and hot. Once your oven has heated up nicely, carefully place your pizza pan in the oven. Now the waiting begins. Since I have already done this type of craft project last year, I used our gas grill to cut down on any of the stinky smell from the beads melting, but today, I just opened up the windows and turned on the ceiling fan to rid any odor. Just so you know, the melting beads did not create much smell in the house, but since we are having a nice warm day for a change, having the windows open for fresh air was nice.
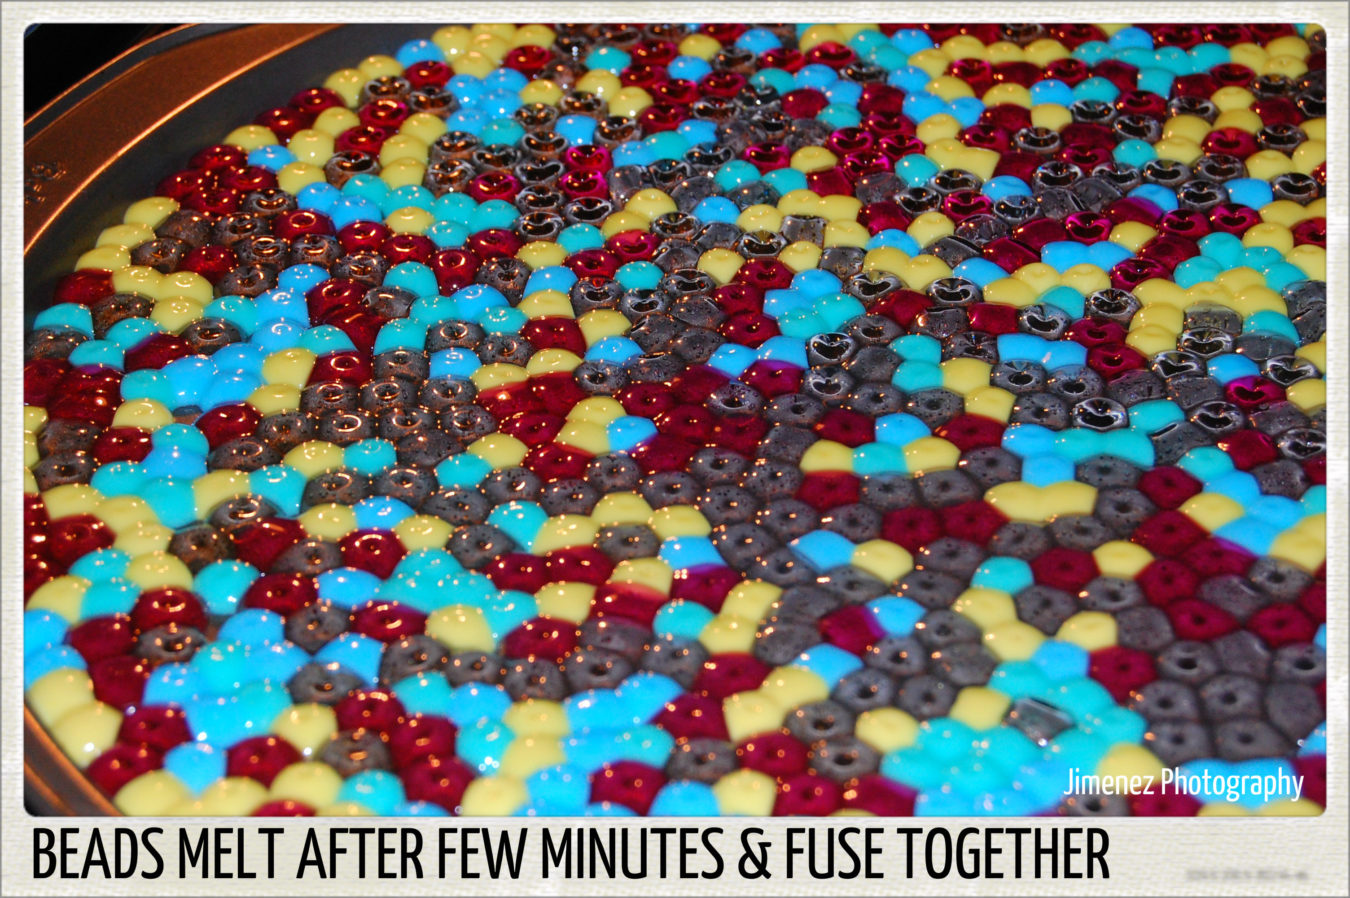
Watch your beads now closely. You will see the beads starting to melt after a few minutes in the oven, as they will get glossy looking.

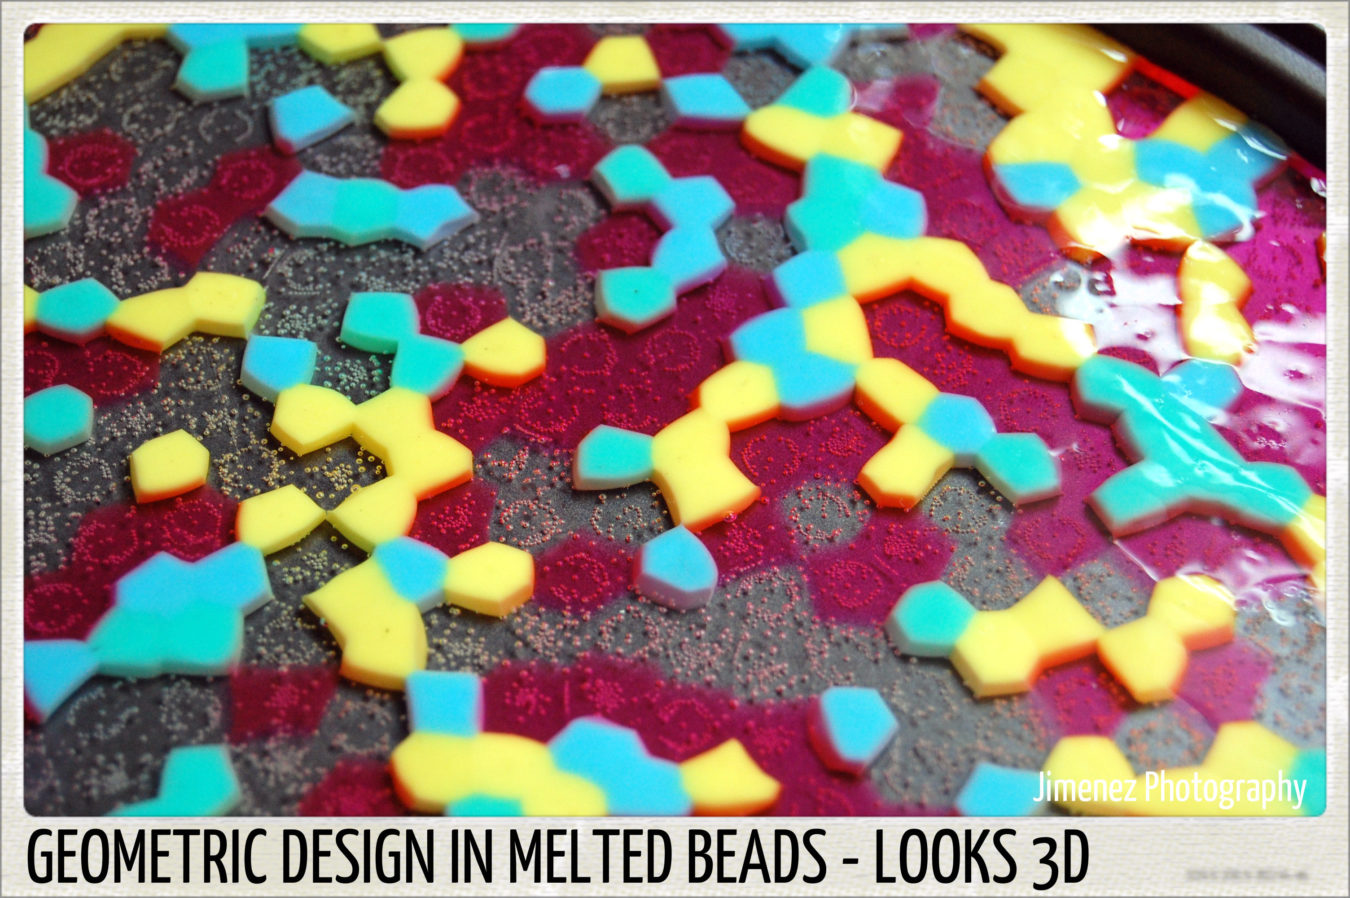
Keep watching them as they melt into each other and form a nice flat edge around the pan. You will know when they are done & ready to remove from the oven when you cannot see any “bumps” or “hills” on the top of the melted beads. If you see little bumps, they need a few more minutes in the oven.
Once the top of your beads is flat, remove from the oven. Set pizza pan on top of the stove to cool. In a few minutes, you will hear the strangest cracking noise, but don’t fret, as this is just the plastic cooling and it is nothing to worry about.

After a few minutes of cooling, carefully touch the pizza pan to see if it has completely cooled. If it is still warm to the touch, let it sit longer to cool completely. Do not remove your item from the pan until it has completely cool or it could lose its shape. Once completely cooled, you can now turn the pizza pan upside down and your melted beads will now pop right out of the pan!
I made this item today so I can get ready for Spring! I will turn this into a sun catcher and add some wind chimes to the bottom. What a beautiful piece it will be when the sun shines through it. This item that I made can be drilled too! I will use a drill for a hole at the top, and for the small holes to hang the wind chimes on too!
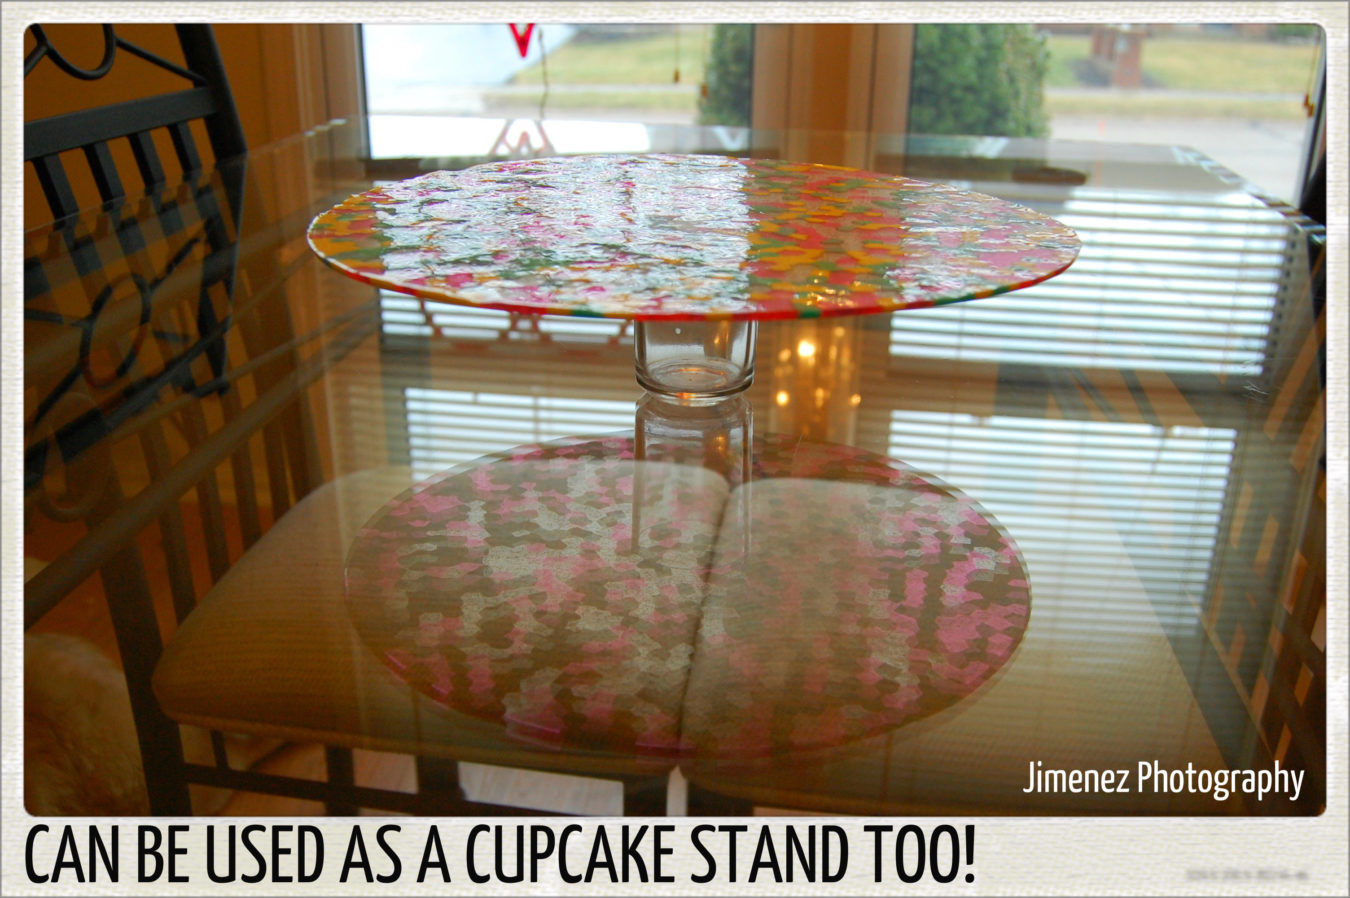
Also, while I was looking at the finished product on my table, I also thought that this would make a neat cupcake platter too! I would probably want a little stand on it, so I could head on over to the Dollar Store and purchase a glass short candle holder for $1 and glue it to the underneath center of the melted beads platter. Whala, instant cupcake stand!
If you have any spare pony beads – I encourage you to pull them out the get crafty! I will never think of my pizza pan the same again, as I found out that it is just not for pizza any more!
Leave a Reply
You must be logged in to post a comment.